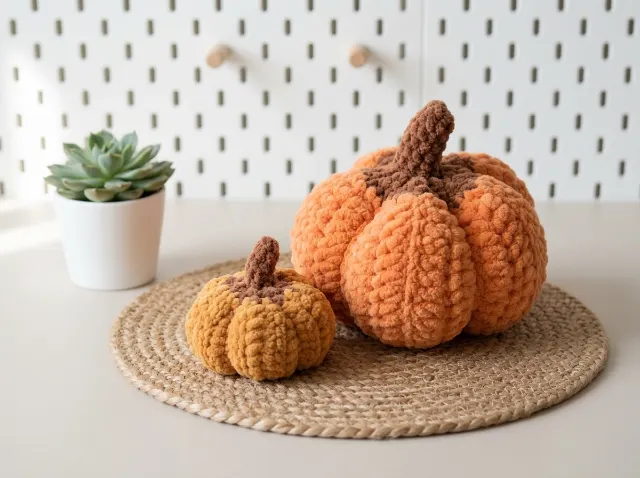
Crochet Patterns for Beginners
New to crochet? Start here. These are the patterns marked beginner level, with the free ones first so you can try a style before you buy. There are 40 free and 36 paid beginner patterns, each with a materials list and a PDF you can download straight away, with no account needed. Unsure how to read a pattern? Our beginner guide explains it step by step.
Free crochet patterns for beginners
All free patterns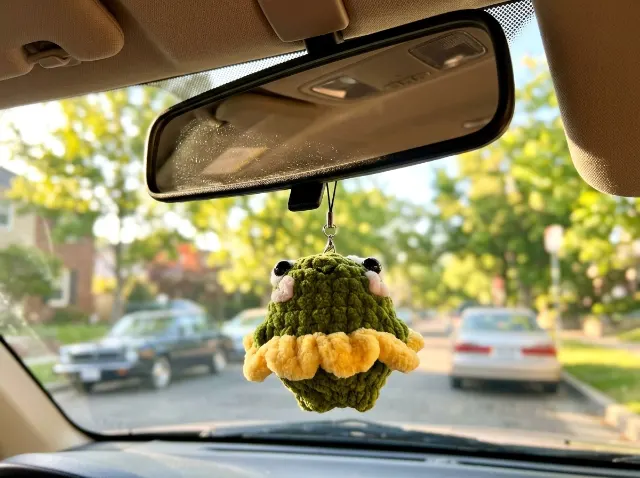
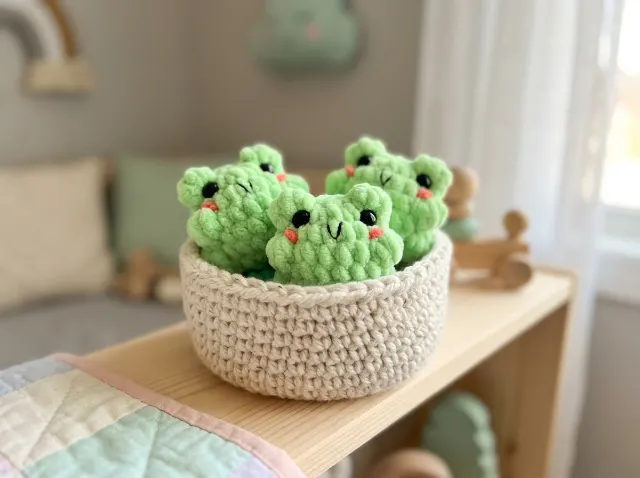
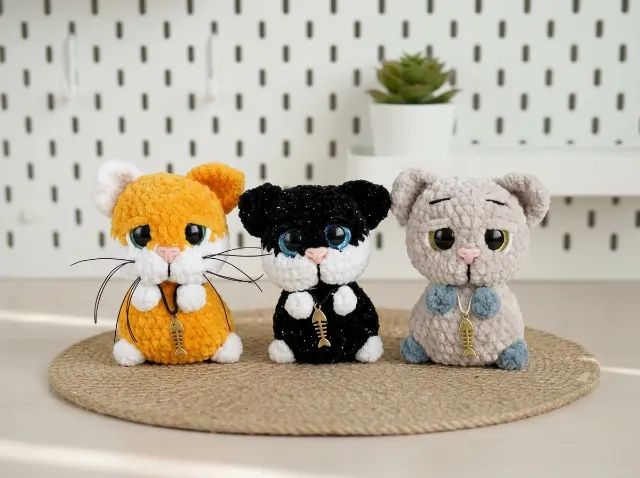
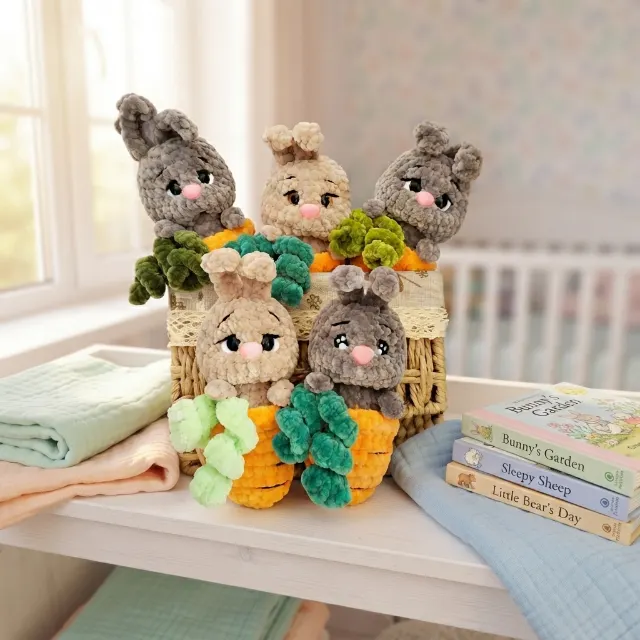
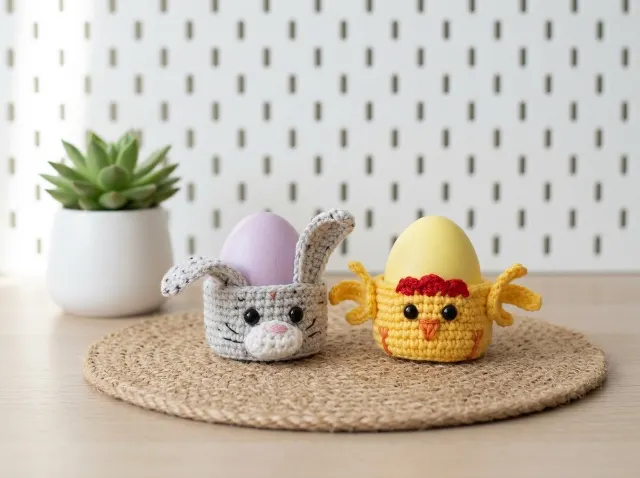
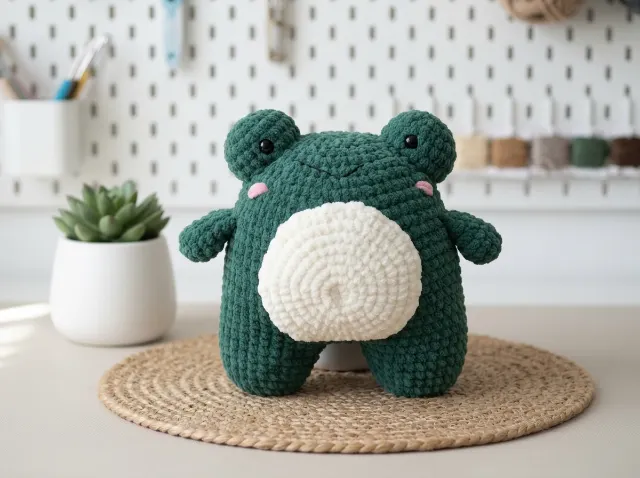
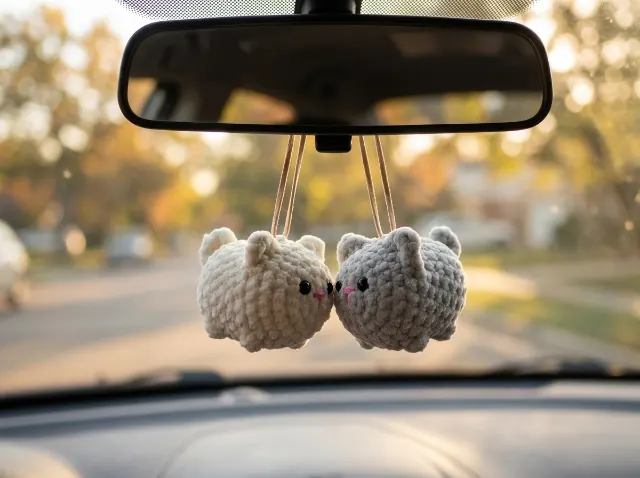
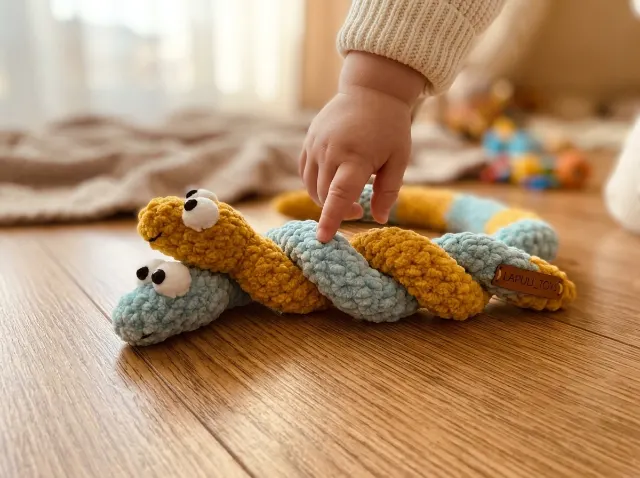
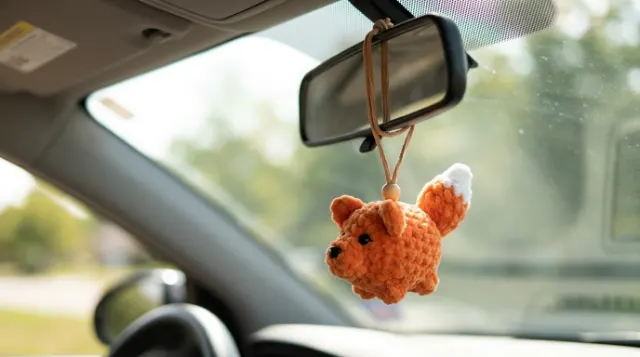
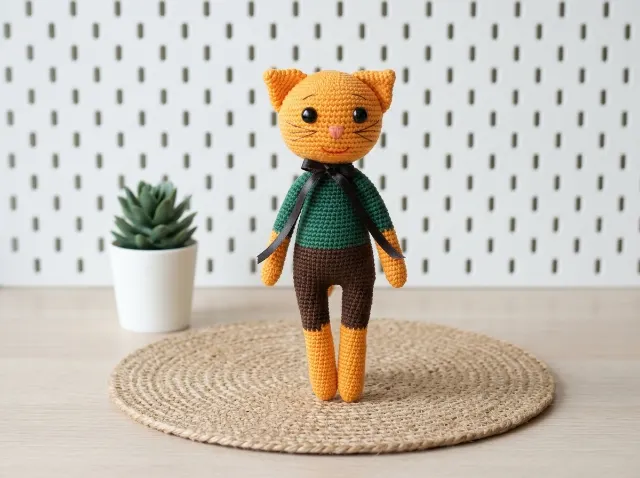
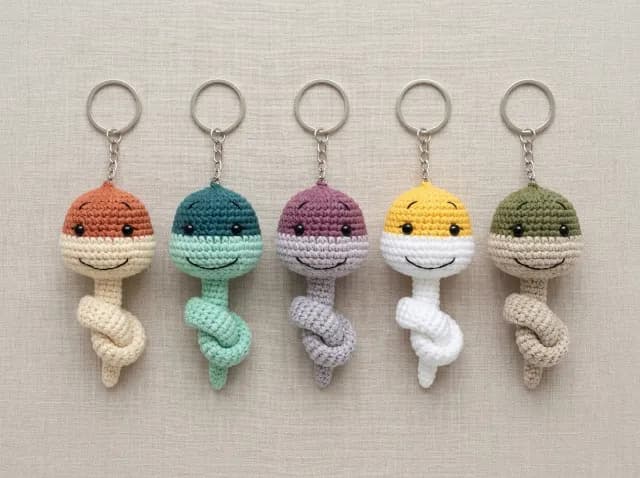
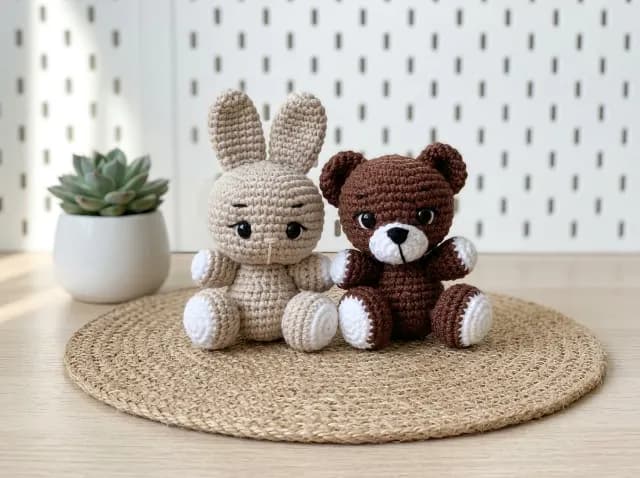
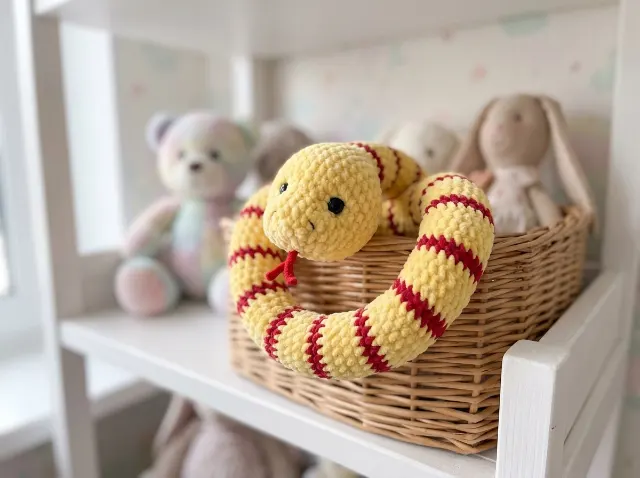
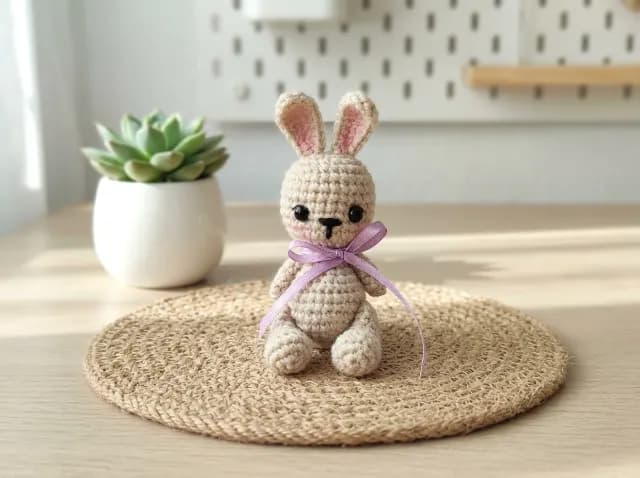
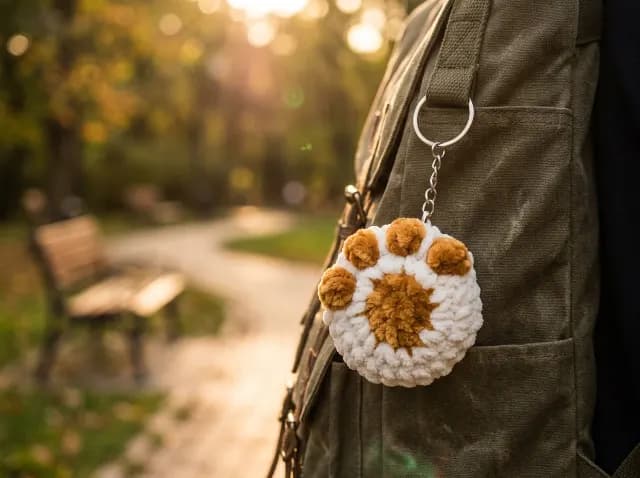
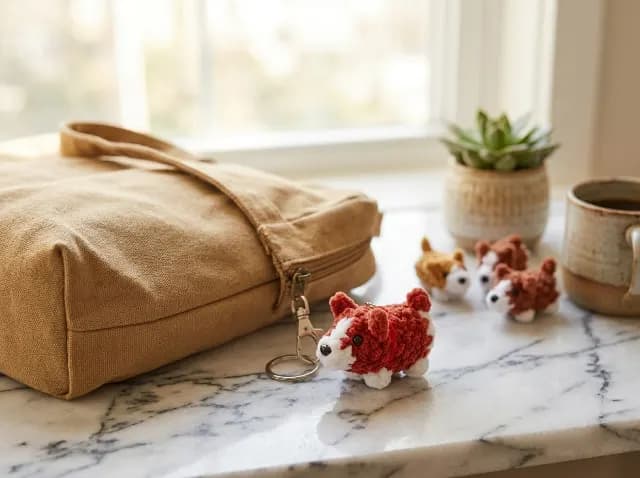
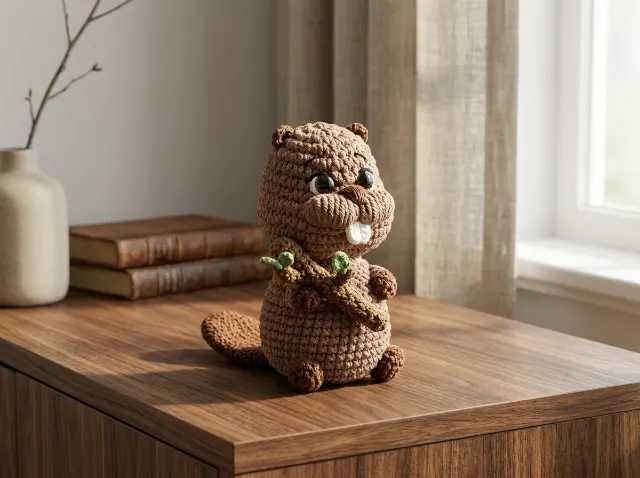
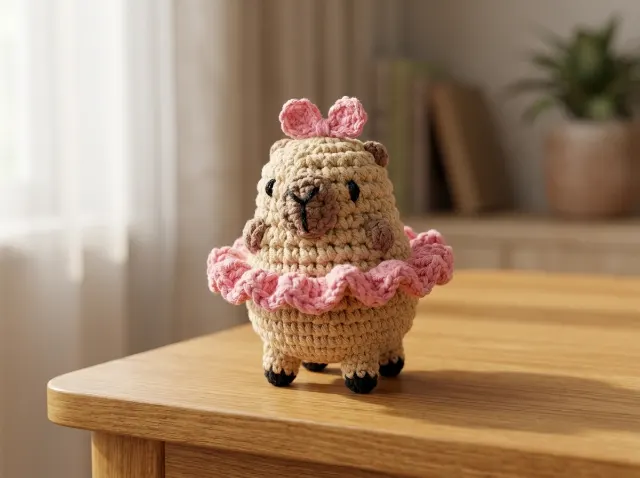
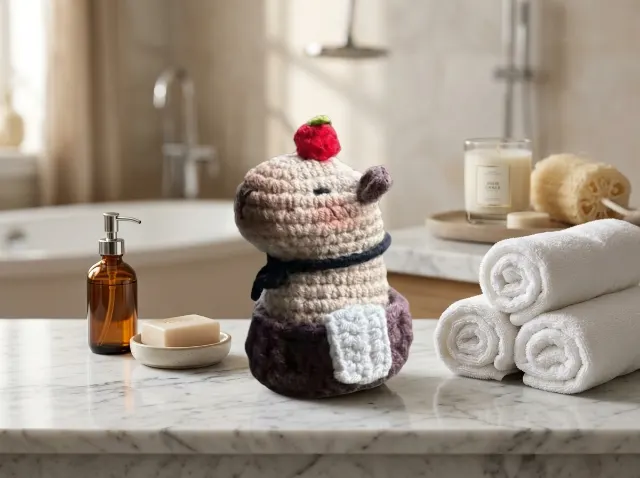
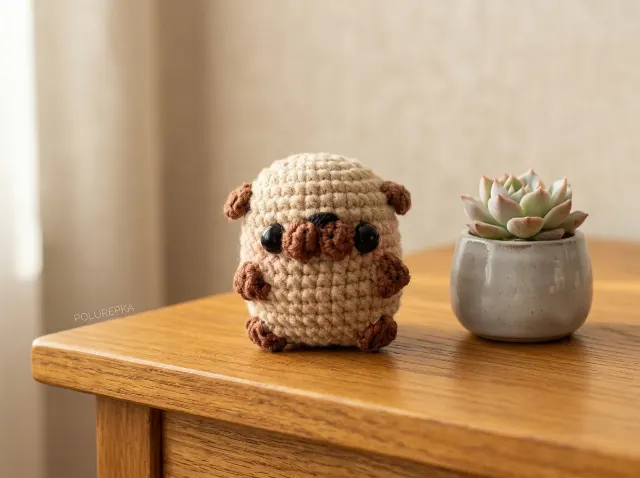
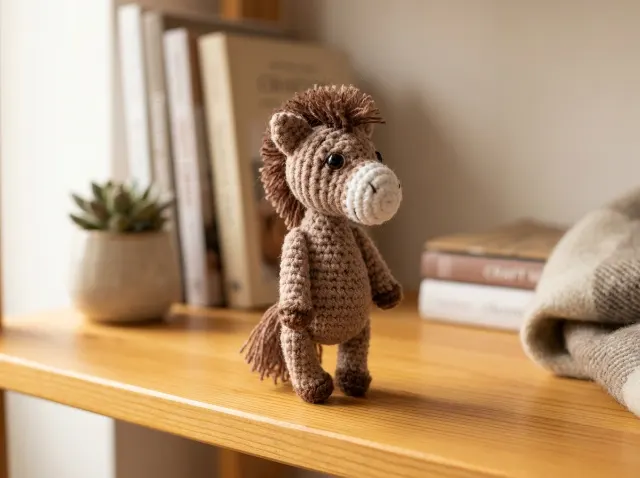
More beginner crochet patterns
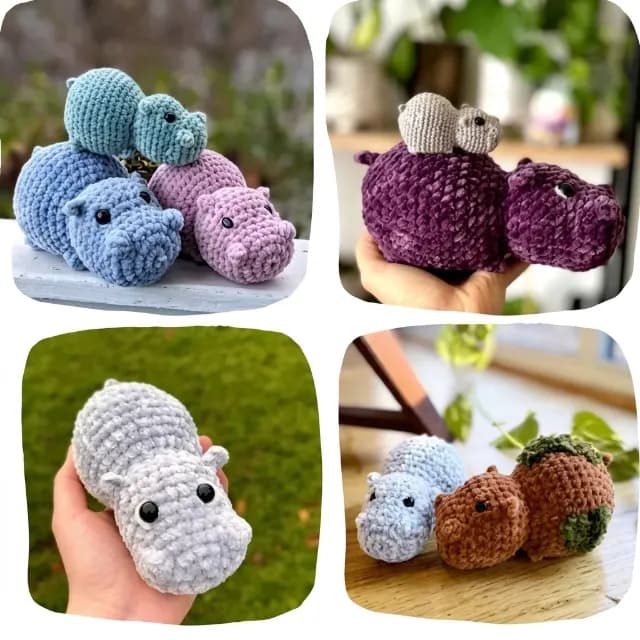
All amigurumi patterns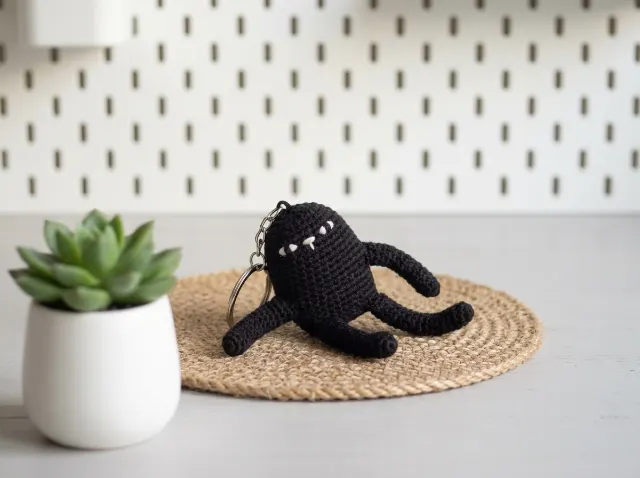
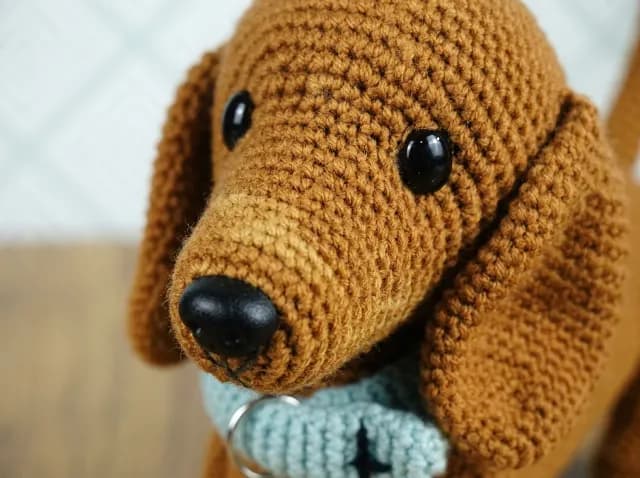
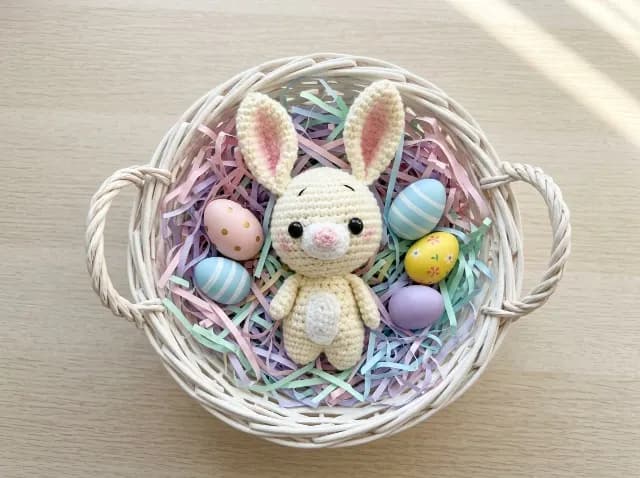
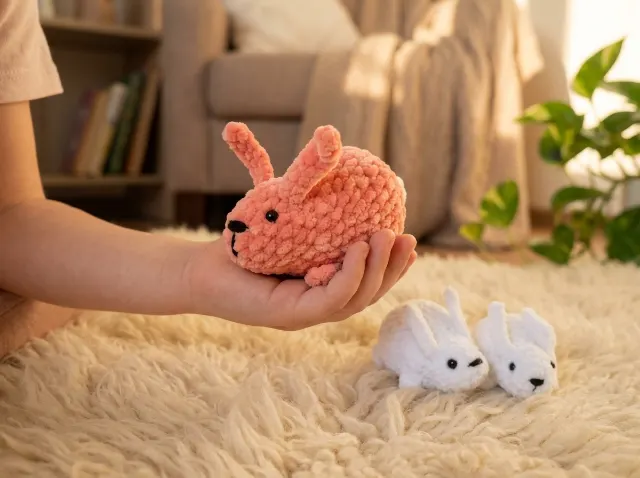
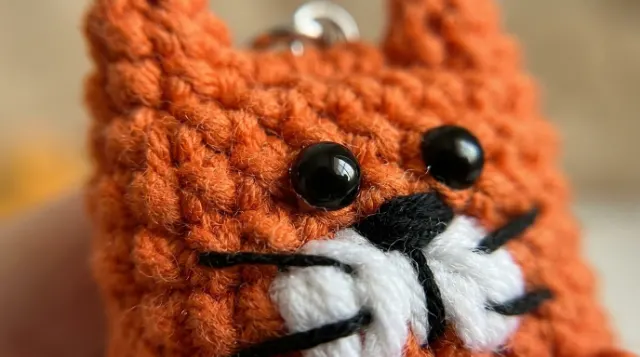
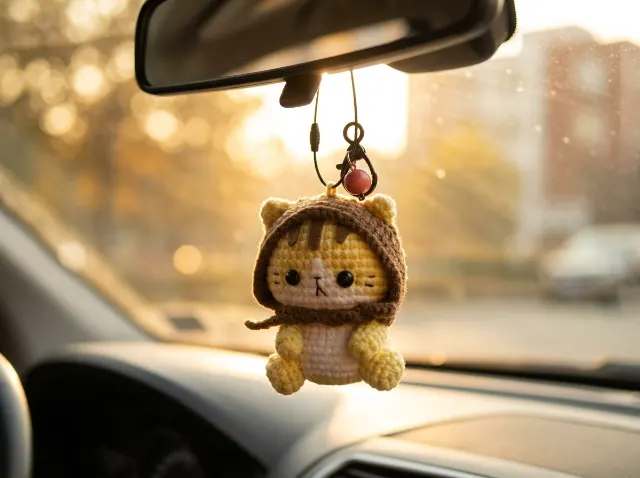
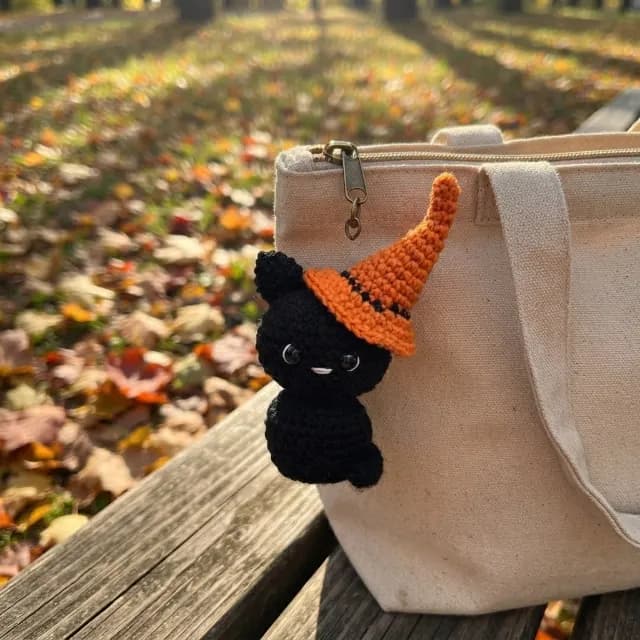
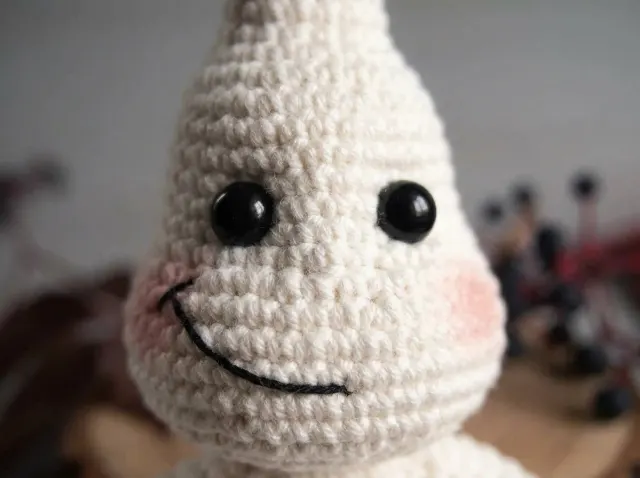
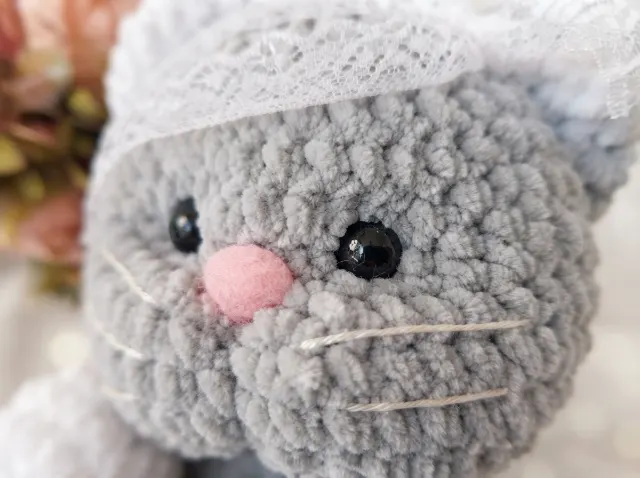
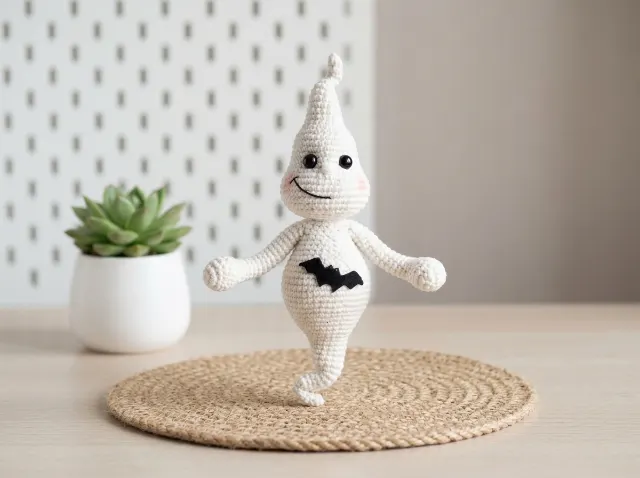
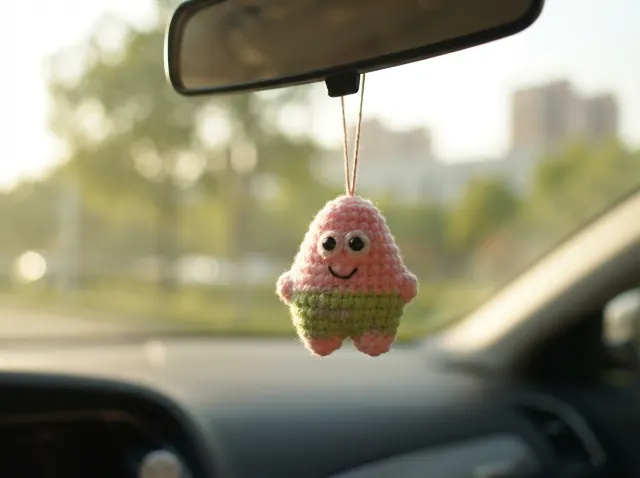
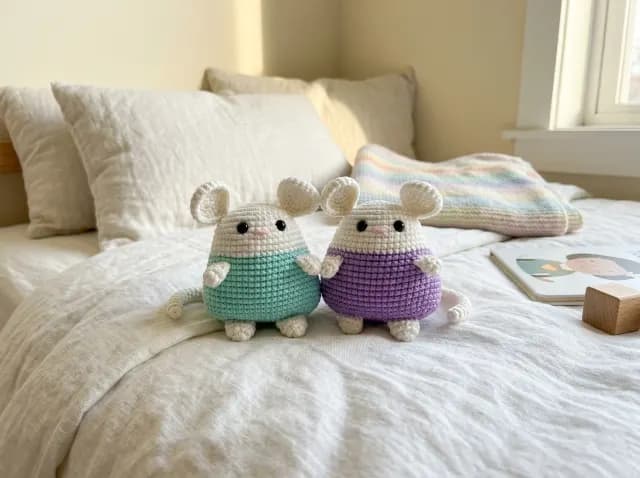
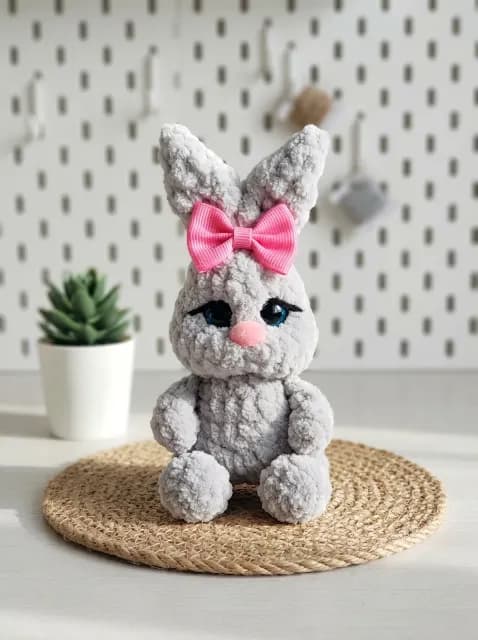
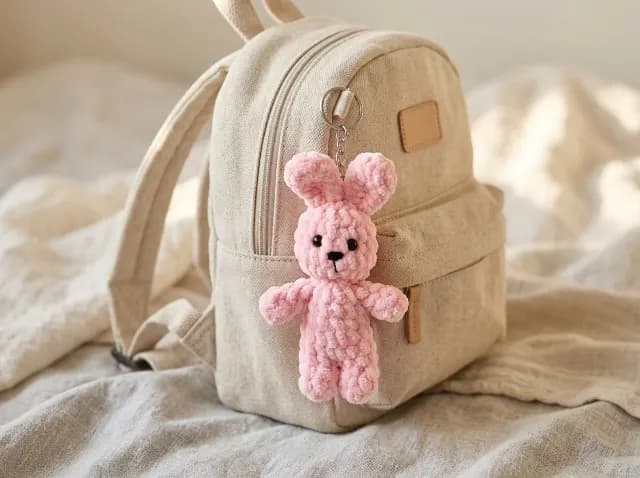
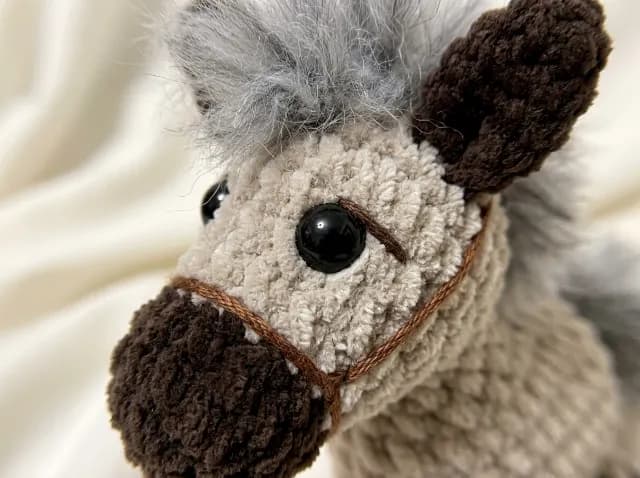
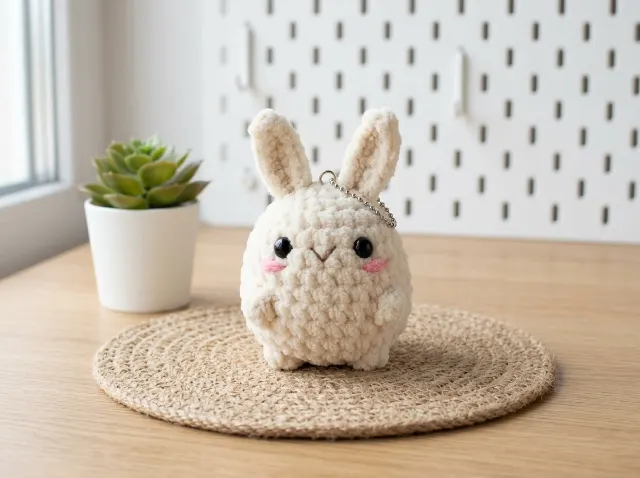
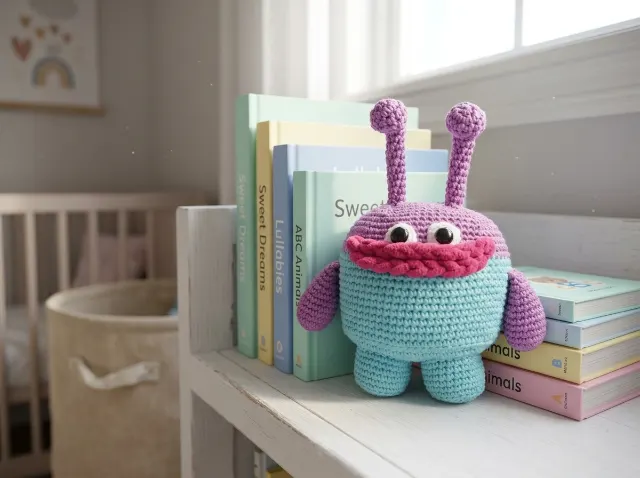
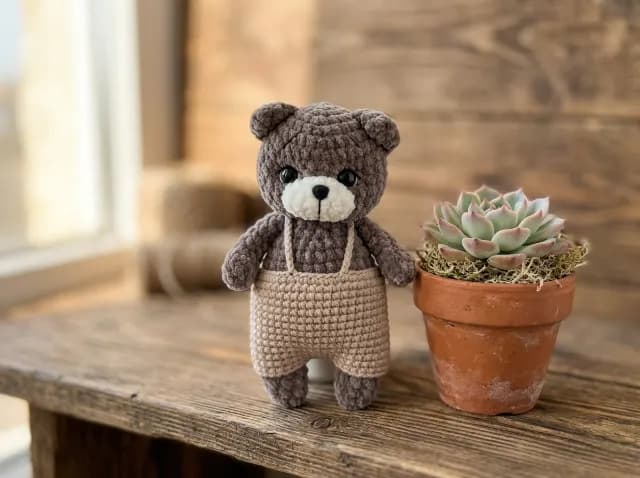
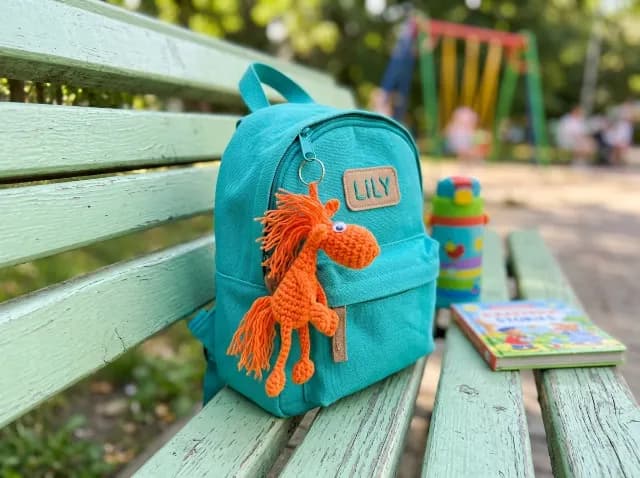
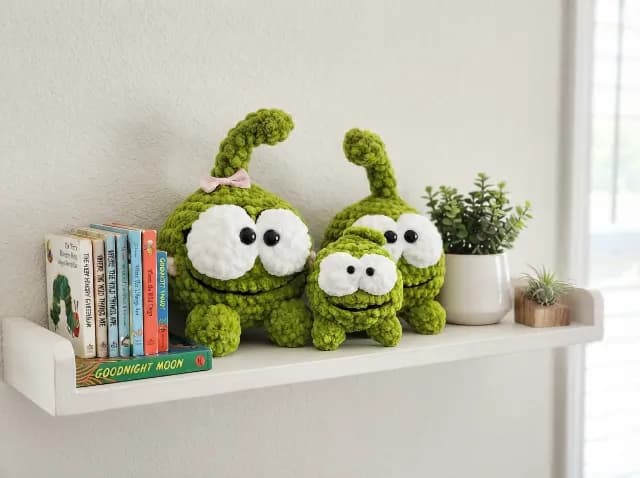
Crochet patterns for beginners: how to choose and start your first toy
The best crochet patterns for beginners use round shapes, one or two colors, a handful of simple stitches and very few parts to sew on. This page collects free and paid beginner patterns from the shop, mostly small amigurumi animals and keychains. Below you will find what to buy, how to read a pattern, a five-project path and fixes for the problems almost every first toy has.
Crochet for beginners: what do I need to start?
Less than most people expect. A first amigurumi needs one hook, one skein of smooth yarn, stuffing and a needle. Buying more than that before you know your own habits mostly means buying things you will not use.
| What you need | What to look for | What you can skip for now |
|---|---|---|
| Yarn | Worsted weight (4), smooth cotton or acrylic, light or medium color, tightly plied | Fuzzy, hairy or very dark yarn, and anything that splits easily |
| Hook | 3.5 mm or 4.0 mm with a comfortable handle | A full set of sizes and ergonomic upgrades |
| Stuffing | Polyester fiberfill, pulled into small pieces | Pellets and specialty fillings |
| Tapestry needle | Blunt tip, eye large enough for your yarn | Sharp sewing needles |
| Stitch markers | Any locking marker, or a scrap of contrasting yarn | Fancy markers |
| Scissors | Small and sharp | Specialty snips |
| Eyes | Safety eyes with locking backs, or black yarn for embroidery | Glue-on eyes and felt details |
What makes a crochet pattern beginner friendly?
Five things, and each one has a reason behind it.
- Few parts. Every extra ear, arm or tail is another piece to make, stuff and sew on. Two or three parts is a calm first project.
- Round shapes. A ball is worked in a plain spiral with increases, then decreases. Flat panels, corners and tight curves ask for more counting.
- One or two colors. Changing yarn mid-round adds new skills and new ways to lose your place.
- Simple stitches. Single crochet, increases and decreases carry a whole toy. Bobbles, popcorns and post stitches can wait.
- No tiny or fiddly details. Small pieces under 1 inch (2.5 cm) are hard to hold and easy to get wrong while your hands are still learning.
If you are browsing, easy amigurumi patterns for beginners are the natural place to start, and no-sew amigurumi removes the assembly step entirely.
The 6 stitches and techniques a first amigurumi uses
Learn these six and you can follow almost any beginner toy.
- Chain (ch): a row of loops that makes the starting length of a piece, and the basis of every foundation.
- Slip stitch (sl st): a very short stitch used to join the last stitch of a round to the first, or to finish off neatly.
- Single crochet (sc): the stitch that makes dense fabric, and the one you will repeat hundreds of times in a toy.
- Increase (inc): two single crochets worked into one stitch, which widens the shape.
- Decrease (dec): two stitches worked together into one, which narrows the shape.
- Magic ring (MR): a loop you pull tight to close the center of a round with no hole, so the toy starts with no gap.
Magic ring for beginners
The magic ring has a reputation for being hard, and the first few attempts are usually clumsy. Make a loop, pull a second loop of yarn through it, chain once, then work six single crochets into the ring. Pull the tail and the center closes. Our step-by-step guide shows how to make a magic ring.
If it keeps coming undone, start with a chain of two and work six single crochets into the first chain instead. Many patterns accept either, and your toy will look nearly the same. Come back to the ring once your hands are comfortable.
After the ring comes the increase round that shapes every ball: 6 stitches, then 12, then 18, then 24. Each round adds six stitches by working one increase in every stitch, then one increase in every second stitch, and so on. Counting is the real skill here.
Beginner crochet projects: your first five
Each project below adds exactly one new idea, so you are never learning three things at once. Each is worked in single crochet with the same yarn and hook, which means you are not buying new supplies at every step.
- A ball. It teaches the magic ring, the increase rounds and the decrease rounds, with nothing else to think about.
- A keychain or small animal head with no limbs. It adds embroidered features and finishing the end of the yarn neatly.
- A body with a head. Two pieces teach joining, stuffing firmly and sewing parts together.
- An animal with ears and a tail. Small flat pieces teach how to place them evenly and sew them on straight.
- A toy with two colors or a simple accessory. Changing yarn on the last stitch of a round introduces color work, in a controlled way.
Do not skip to the fifth project because it looks cute. The first four give your hands the rhythm that makes color changes feel easy.
How to read the pattern PDFs sold here
Every pattern follows the same order. First comes the materials list with the yarn weight, hook size and notions. Next comes the abbreviations list, then the pattern itself, one piece at a time.
A round-by-round line looks like this: Rnd 3: (sc, inc) x 6 (18). The number in brackets is your stitch count at the end of the round. If you finish a round and you do not have that number, stop and count before you go on. That one habit saves more frustration than any other.
Patterns here use US terms, so a single crochet is the short stitch that makes dense fabric. UK patterns use the same names for different stitches, which causes a lot of confusion. The guide on US versus UK crochet terms lists every pair, and how to read a crochet pattern walks through a full pattern line by line.
Yarn weight and hook size for toys
Choose a hook one or two sizes smaller than the yarn label suggests. The reason is stuffing. Fiberfill pushes outward on every stitch, and a loose fabric lets white fluff show through. A tighter stitch hides the filling and keeps the toy firm.
| Yarn weight | Label suggests | Hook for toys | Result |
|---|---|---|---|
| Sport (2) | 3.5 to 4.0 mm | 2.5 to 3.0 mm | Small and detailed, harder to count |
| DK (3) | 4.0 to 4.5 mm | 3.0 to 3.5 mm | Neat, medium-small toys |
| Worsted (4) | 4.5 to 5.5 mm | 3.5 to 4.0 mm | Easiest for a first toy |
| Bulky (5) | 5.5 to 6.5 mm | 4.5 to 5.0 mm | Large, quick, slightly looser |
These are common ranges, not rules. If your pattern lists a hook, begin there, then adjust if you can see gaps.
Five common beginner problems and how to fix them
| Problem | Likely cause | Fix |
|---|---|---|
| Stitch count is wrong | A missed stitch, or an increase worked into the wrong place | Count at the end of every round, put a marker in the first stitch, and unravel back to the last round that was correct |
| Gaps show the stuffing | Hook too large, or stitches too loose | Go down one hook size, and pull each stitch snug as you finish it |
| Lumpy shape | Uneven stuffing, or increases stacked in one line | Stuff in small pieces, and shift increases so they do not sit above one another |
| Twisted join | Joining a ring that has a twist in it | Lay the chain flat before you join, and in spiral rounds do not join at all |
| Tension too tight | Gripping the yarn or hook hard | Relax your grip, let each loop sit loosely on the hook shaft, and take breaks |
Tight tension is the most common reason a first toy feels hard to work. If you can barely get the hook into the stitch, go up half a size, not down.
Safety eyes or embroidered features for children?
Safety eyes are plastic eyes with a locking washer that snaps on behind the fabric. They are tidy and secure when fitted correctly, but a determined child can still pull a toy apart.
For babies and toddlers, embroidered eyes and noses are the more cautious choice because there is nothing to detach. Embroidery with black yarn also looks soft and friendly. Rules and standards for children's toys differ by country, so check what applies where you live, and when in doubt, embroider.
Whatever you choose, sew every part on firmly, weave in all ends, and check the toy for loose parts before giving it to a child.
How skill levels work on this shop
The level shown on each pattern is a guide, not a promise. Makers learn at different speeds, and a pattern marked beginner can still have a step that feels new to you. Before you start, read the materials list and look at the photos. If you see a technique you have never tried, search for a video of it, or look at the guides first.
Free versus paid beginner patterns
Free crochet patterns for beginners are a good way to try a style before you commit to anything. You can browse them all on the free crochet patterns page, and the free ones are shown first on this page.
Paid patterns add what the listing says they do. That can mean more photos, a longer pattern or a bigger finished toy, so read the description for each one. Neither kind is better in every case. Pick the animal you want to make.
How buying works
Patterns are digital PDFs. Your download is available right after payment, and a link is also emailed to you, so you can open it again later. You do not need to create an account. Payment is handled by Paddle. If something goes wrong with a file, see the refund policy or write through the contact page.
Frequently asked questions
- How do I choose my first crochet pattern?
- Choose a small, round toy with one or two colors and few parts, such as a simple animal or a keychain. Check that the materials list uses a yarn weight and hook you can buy easily. Read the whole pattern once before you begin, and look at the photos to see how it should turn out.
- Is amigurumi hard for beginners?
- Not usually. It uses mostly single crochet worked in a spiral, which is one of the first stitches you learn. The hard parts are counting and keeping tension even, and both improve fast. Start with a ball or a small animal and avoid multi-color designs at first.
- What yarn is best for a first toy?
- Worsted weight (category 4) in a smooth, tightly plied cotton or acrylic, in a light or medium color. You can see each stitch clearly, and the yarn does not split. Avoid fuzzy and very dark yarns until you are confident.
- Why does my crochet toy look different from the photo?
- Yarn, hook size and tension all change the finished size and shape, so a toy rarely matches a photo exactly. Check your stitch count after each round and use the hook size in the materials list. A different yarn will give a different result, and that is normal.
- Can I make these patterns if I only know the basics?
- Yes, if the basics include chain, slip stitch and single crochet. Increases, decreases and the magic ring are quick to learn and are explained in the guides. If a step is unfamiliar, search for a short video, then return to the pattern.
- Where can I get help with a pattern?
- Start with the [FAQ](/faq) and the guides, which cover most common questions. If you are still stuck, send a message through the [contact page](/contact) and include the pattern name and the round where you got lost.